Debugging & Testing Connectors
Note
The information below are for developers building spot and perp connectors that integrate directly into the Hummingbot client. For information on developing gateway connectors that use Gateway, see Building Gateway Connectors.
This section will break down some ways to debug and test the code. You are not required to use these options during your development process, but they will greatly help you in it.
As part of the QA process, you are required to include unit test cases for the code review process to begin. Refer to Option 1: Unit Test Cases to build your unit tests.
Option 1. Unit Test Cases
You are required to provide at least 80% of unit-test code coverage to have your contribution accepted in the hummingbot repository.
Examples of unit-tests can be found in the test/integration folder.
Unit-tests submitted for merging in the code base must not access any external servers directly. All server API communications must be mocked — refer to existing examples provided by the exchange you are basing your implementation on for guidance.
Warning
When writing unit-tests for submission with your PR, take extra care not to include any API authentication credentials.
Option 2. aiopython console
This option is mainly used to test for specific functions. Considering that many of the functions are asynchronous functions, it would be easier to test for these in the aiopython console. Click here for some documentation on how to use aiopython.
Writing short code snippets to examine API responses and/or how certain functions in the code base work would help you understand the expected side-effects of these functions and the overall logic of the Hummingbot client.
Issue a API Request
Below is just a short example on how to write a short asynchronous function to mimic a API request to place an order and displaying the response received.
# Prints the response of a sample LIMIT-BUY Order
# Replace the URL and params accordingly.

>>> import aiohttp
>>> URL="api.test.com/buyOrder"
>>> params = {
...     "symbol": "ZRXETH",
...     "amount": "1000",
...     "price": "0.001",
...     "order_type": "LIMIT"
... }
>>> async with aiohttp.ClientSession() as client:
...    async with client.request("POST",
...                              url=URL,
...                              params=params) as response:
...        if response == 200:
...            print(await response.json())
Calling a Class Method
Printing the output from get_active_exchange_markets() function in OrderBookTrackerDataSource.
In this example, we will be using BittrexAPIOrderBookDataSource:
>>> from hummingbot.market.bittrex.BittrexAPIOrderBookDataSource import BittrexAPIOrderBookDataSource as b
>>> await b.get_active_exchange_markets()

                 askRate baseAsset        baseVolume  ...             volume     USDVolume old_symbol
symbol                                                ...
BTC-USD    9357.49900000       BTC  2347519.11072768  ...       251.26097386  2.351174e+06    USD-BTC
XRP-BTC       0.00003330       XRP       83.81218622  ...   2563786.10102864  7.976883e+05    BTC-XRP
BTC-USDT   9346.88236735       BTC   538306.04864142  ...        57.59973765  5.379616e+05   USDT-BTC
.
.
.
[339 rows x 18 columns]
Option 3. Custom Scripts
This option, like in Option 2, is mainly used to test specific functions. This is mainly useful when debugging how various functions/classes interact with one another.
e.g. Initializing a simple websocket connection to listen and output all captured messages to examine the user stream message when placing/cancelling an order. This is helpful when determining the exact response fields to use.
e.g. A simple function to craft the Authentication signature of a request. This together with POSTMAN can be used to check if you are generating the appropriate authentication signature for the respective requests.
API Request: POST Order
Below is a sample code for POST-ing a LIMIT-BUY order on Bittrex. This script not only tests the BittrexAuth class but also outputs the response from the API server.
#!/usr/bin/env python3

import asyncio
import aiohttp
from typing import Dict
from hummingbot.connector.exchange.bittrex.bittrex_auth import BittrexAuth

BITTREX_API_ENDPOINT = "https://api.bittrex.com/v3"

async def _api_request(http_method: str,
                       path_url: str = None,
                       params: Dict[str, any] = None,
                       body: Dict[str, any] = None,
                       ):
    url = f"{BITTREX_API_ENDPOINT}{path_url}"

    auth = BittrexAuth(
        "****",
        "****"
    )

    auth_dict = auth.generate_auth_dict(http_method, url, params, body, '')

    headers = auth_dict["headers"]

    if body:
        body = auth_dict["body"]

    client = aiohttp.ClientSession()

    async with client.request(http_method,
                              url=url,
                              headers=headers,
                              params=params,
                              data=body) as response:
        data: Dict[str, any] = await response.json()
        if response.status not in [200,201]:
            print(f"Error occurred. HTTP Status {response.status}: {data}")
        print(data)

# POST order
path_url = "/orders"

body = {
    "marketSymbol": "FXC-BTC",
    "direction": "BUY",
    "type": "LIMIT",
    "quantity": "1800",
    "limit": "3.17E-7",  # Note: This will throw an error
    "timeInForce": "GOOD_TIL_CANCELLED"
}

loop = asyncio.get_event_loop()
loop.run_until_complete(_api_request("POST",path_url=path_url,body=body))
loop.close()
Option 4: Using Debugger Tools
This section will detail the necessary configurations/setup required to run the debugger tool from your IDE of choice.
VS Code
Include the following debug configurations into the launch.json configuration file
{
  "version": "0.2.0",
  "configurations": [
    {
      "name": "Python: Hummingbot Application",
      "type": "python",
      "request": "launch",
      "program": "${workspaceRoot}/bin/hummingbot.py",
      "console": "integratedTerminal"
    }
  ]
}
By executing the Start Debugging command, the debugger will automatically attach itself to the Hummingbot process.
The Hummingbot app will appear in the integratedTerminal. You may change this as desired.
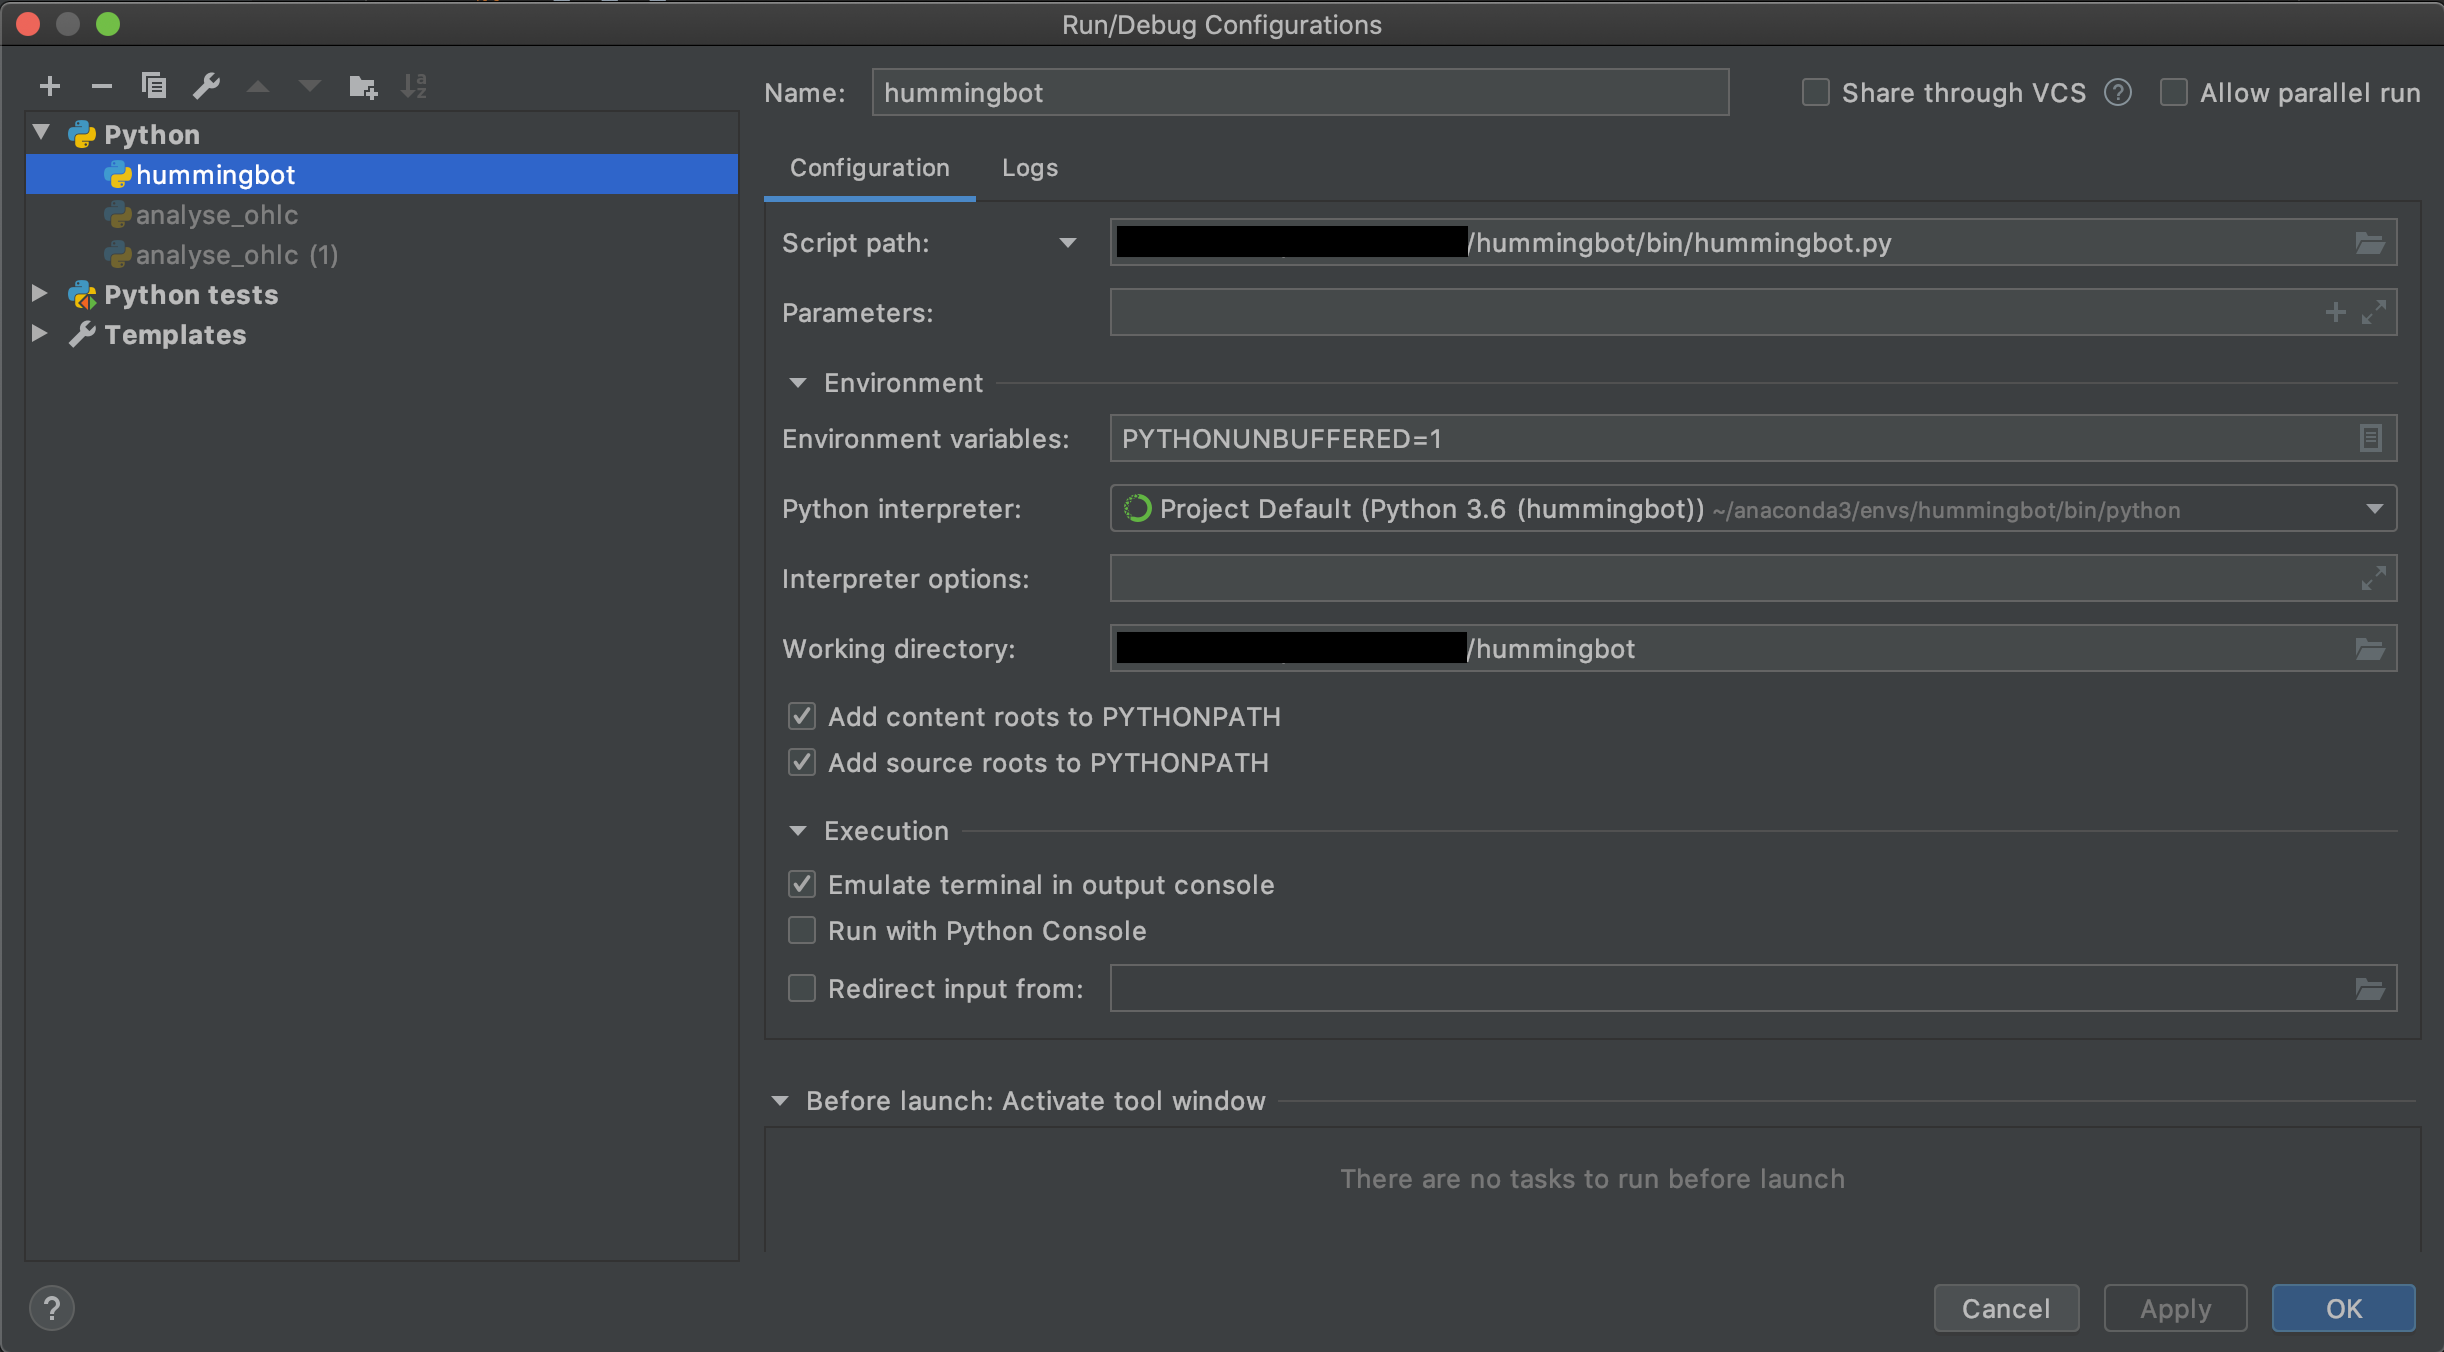
PyCharm
Similarly, for PyCharm, you want to set up the debug configurations, as seen in the screenshot below.
For debugging it is neccessary that Gevent compatible in Python Debugger settings is enabled. See
Stackoverflow Q&A.
Note
As of this writing, there is no way to add breakpoints/log points to any of the Cython code in VSCode or PyCharm.