Hummingbot Client Quickstart
This guide walks you through installing the Hummingbot Client using Docker, the simplest method for most users.
For source installation or detailed configuration options, see Client Installation. For the full hbot reference, see hbot CLI.
What You'll Set Up
By the end of this guide, you'll have:
- Hummingbot Client +
hbotCLI — algorithmic trading bot for centralized exchanges (CEX), withhbotas the recommended non-interactive command line for running bots - Gateway (optional) — middleware for trading on decentralized exchanges (DEX) like Uniswap, PancakeSwap, and Raydium
This setup is best for running a single bot instance on your local machine or learning how Hummingbot works.
hbot: a new entry point into the Hummingbot engine
Introduced in v2.16.0, hbot drives the same Hummingbot engine as the classic interactive client, but through a non-interactive command line — making it suitable for scripts, CI, and agent-driven workflows. See the hbot CLI reference for all commands.
Prerequisites
Install Docker on your system:
Install Docker Desktop from the official Docker website
Desktop Users: Install Docker Desktop from official site
Headless Servers (VPS like AWS EC2 or Digital Ocean):
Prerequisites
- Docker Desktop installed
- WSL2 enabled
- Ubuntu distribution installed
Always run commands in: Ubuntu Terminal (Start Menu → Ubuntu)
Step 1: Clone the Repository
Step 2: Setup and Deploy
The make setup command configures your environment (and optionally enables Gateway for DEX trading). make deploy downloads the latest Hummingbot image and starts it. make link-cli installs the hbot command on your host, which runs commands inside the container.
Verify the install:
Step 3: Set Your Password
On first use, hbot prompts for a keystore password (or read it from HBOT_PASSWORD / --password-stdin). This password encrypts your exchange API keys — the same password used by the interactive client.
Step 4: Run a Paper Trading Strategy
Run your first bot with the simple_pmm market making script on a paper trade connector — it simulates trading against live Binance market data, so no API keys are required:
# Create a config for the simple_pmm script
hbot create simple_pmm --name conf_btc.yml \
--set exchange=binance_paper_trade --set trading_pair=BTC-USDT
# Start and monitor
hbot start
hbot status
hbot logs -f
hbot status shows your simulated balances and the live bid/ask maker orders the bot maintains.
Step 5: Connect a Live Exchange
When you're ready to trade with real funds, add your exchange API keys and re-create the config with a live connector:
hbot connect binance --fields # see required key fields
hbot connect binance # add API keys
hbot balance # confirm balances
hbot create simple_pmm --name conf_btc_live.yml \
--set exchange=binance --set trading_pair=BTC-USDT
hbot start --replace
Step 6: Run a Strategy Controller
Controllers are reusable V2 strategies whose settings can be tuned live while the bot runs. Create and run the pmm_mister controller on your connected exchange:
# Create a V2 controller config
hbot create pmm_mister --name conf_btc_controller.yml \
--set connector_name=binance --set trading_pair=BTC-USDT
# Start and monitor
hbot start --replace
hbot status
# Tune settings live (applies in ~10 seconds)
hbot config buy_spreads 0.002
Or create the config and start the bot in one step with hbot deploy:
Note
Controllers require a live exchange connection — paper trade connectors are not currently supported by the V2 controller framework.
Common commands: hbot stop, hbot history, hbot config. See the hbot CLI guide for the full command reference.
Interactive Client (alternative)
If you prefer the classic full-screen UI, attach to the running container:
You should see the Hummingbot welcome screen:
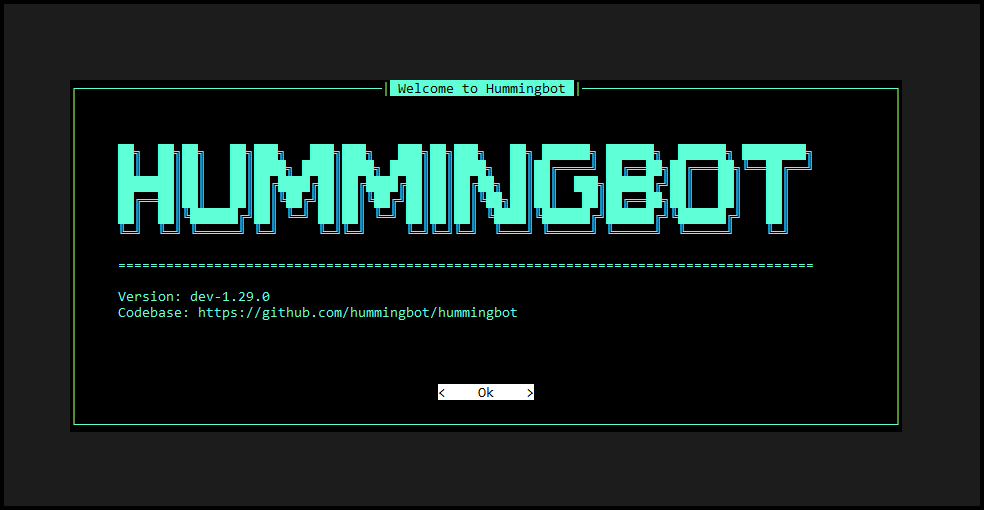
On first launch, create a password and use familiar commands like connect, create, and start. The interactive client includes Gateway commands for DEX workflows that are not yet available in hbot.
Press Ctrl + P then Ctrl + Q to detach without stopping the bot.
See Commands and Shortcuts for the interactive command list.
Managing Your Instance
Stop Hummingbot
Update to Latest Version
docker compose down
docker pull hummingbot/hummingbot:latest
docker compose up -d
make link-cli # re-link if needed
hbot update --check
For Docker updates, hbot update prints the docker compose pull && docker compose up -d commands to run on the host.
Gateway for DEX Trading
To trade on decentralized exchanges like Uniswap, PancakeSwap, or Raydium, you can enable Gateway alongside Hummingbot. The Docker Compose file includes Gateway configuration that's commented out by default.
Enable Gateway
Edit docker-compose.yml and uncomment the Gateway-related lines:
gateway:
restart: always
container_name: gateway
image: hummingbot/gateway:latest
ports:
- "15888:15888"
volumes:
- "./gateway_files/conf:/home/gateway/conf"
- "./gateway_files/logs:/home/gateway/logs"
- "./certs:/home/gateway/certs"
environment:
- GATEWAY_PASSPHRASE=admin
- DEV=true
The GATEWAY_PASSPHRASE is used to encrypt your wallet private keys. Change admin to a secure passphrase.
Start Both Services
[+] Running 3/3
✔ Network hummingbot_default Created
✔ Container hummingbot Started
✔ Container gateway Started
Verify Gateway Connection
Attach to Hummingbot:
After setting your password, you should see Gateway: ONLINE in the upper right corner.
Development Mode
By default, Gateway runs in development mode (DEV=true) which uses HTTP for easier setup. For production environments requiring HTTPS, set DEV=false and ensure certificates are properly configured. See Gateway Installation for details.
Next Steps
hbotCLI — full command reference- Basic Features — client documentation hub
- Connect to Exchanges — adding credentials
- Create a Strategy — start trading
- Updating to New Versions — keep your installation current
Source Installation
For developers or users who prefer running from source, use the refactored Makefile commands:
git clone https://github.com/hummingbot/hummingbot.git
cd hummingbot
make install
conda activate hummingbot
hbot --version
make installcreates and configures the conda environmenthbotis available directly in the conda env for non-interactive usemake runstarts the interactive client (e.g.make run -p -f strategy.yml)
For detailed source installation options, see Client Installation.
Need More Options?
For development setup or advanced configuration, see the detailed Client Installation page.