Creating a Custom Market Making Strategy - Part 1
Code: https://gist.github.com/cardosofede/1a37db4ebc02440d8fb1352fc324e531
Video:
Let's code
Open the codebase in your favorite IDE such as VSCode or PyCharm and follow the steps below:
Create a new file inside the scripts folder and name it quickstart_script.py
Add the following code to the quickstart_script.py file:
from hummingbot.strategy.script_strategy_base import ScriptStrategyBase
class QuickstartScript(ScriptStrategyBase):
  # It is recommended to first use a paper trade exchange connector
  # while coding your strategy, and then switch to a real one once you're happy with it.
  markets = {"binance_paper_trade": {"BTC-USDT"}}
  # Next, let's code the logic that will be executed every tick_size (default=1sec)
  def on_tick(self):
      price = self.connectors["binance_paper_trade"].get_mid_price("BTC-USDT")
      msg = f"Bitcoin price: ${price}"
      self.logger().info(msg)
      self.notify_hb_app_with_timestamp(msg)
- The
on_tickmethod runs for every tick that the bot internal clock executes. By default, thetick_sizeis 1 second, and you can adjust this parameter in the globalconf_client.ymlconfig file. - All the connectors that you defined on
marketsare initialized when the script starts. You can access them in the class by callingself.connectors, which is a dictionary with the following structure:Dict[CONNECTOR_NAME, ConnectorBase]. - To get the mid-price of Bitcoin, we are using the connector
binance_paper_tradeby calling theget_mid_pricemethod, i.e.self.connectors["binance_paper_trade"].get_mid_price("BTC-USDT") - The logic to get the mid-price for any connector is:
self.connectors[CONNECTOR_NAME].get_mid_price(TRADING_PAIR). Make sure that you define the connector and trading pair inmarketsbefore using them. self.logger().info(msg)prints the message inmsgto your Hummingbot log panel (right hand pane) and saves it to the log file, which is inlogs/log_quickstart_script.log.self.notify_hb_app_with_timestamp(msg)sends the message to the Hummingbot output panel (top left pane). If you have set up Telegram bot integration, you will get the message on your Telegram chat as well.
Running the script
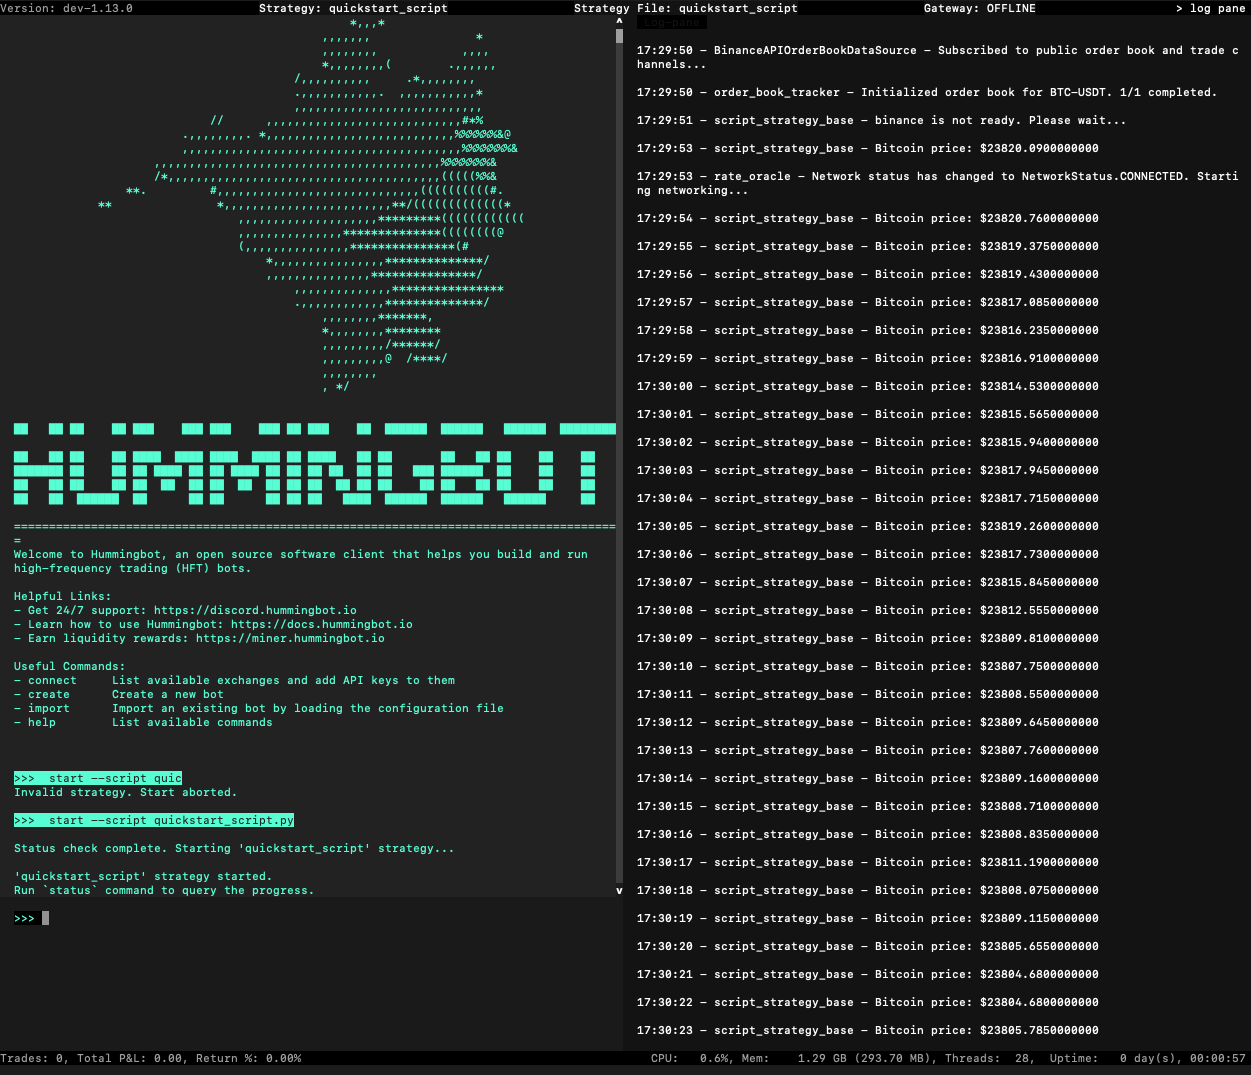
Start Hummingbot:
-
If you installed Hummingbot from source, you should open Terminal/Bash and run the client with
./start(make sure to runconda activate hummingbotfirst). -
If you don’t have Hummingbot running already and you are using Docker, start and attach the container by following these instructions: https://docs.hummingbot.org/installation/docker/
Once you are inside Hummingbot, run this command to start your script:
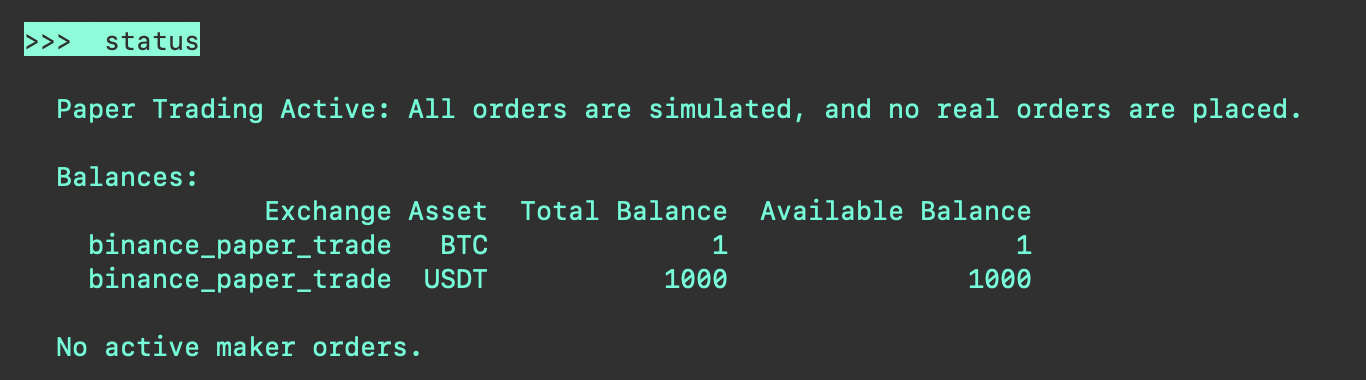
Run the status command to see the current status of your running script:
Notes and tips
- You can define multiple connectors and multiple trading pairs, e.g.
-
You will see a sqlite database (
/data/quickstart_script.sqlite) and a log file (/logs/log_quickstart_script.log) created for your script -
Your script is loaded up at runtime, so you don’t have to exit Hummingbot while you are updating your script code. You will just need to
stop(to stop the current execution) and start it again with the commandstart --script script.pyagain.
Tip
💡 If you have already run the script and the file name is in the top status bar, then you can run it again with just the start command instead of adding the script name.
-
If you want to use a real connector instead of a paper trade one, first you need to configure it using the
connectcommand and provide all the required API credentials. See https://docs.hummingbot.org/client/connect/ for more details. -
Use the ↑ key in the client to cycle through the list of previous commands
-
Use DBeaver or another free database management tool to open the sqlite database to see what the data that Hummingbot stores for you.
Next steps
Now that you understand how a Hummingbot script works, let's implement a basic market making script!