Creating a Custom Market Making Strategy - Part 2
Code: https://gist.github.com/cardosofede/41826e41172ef64a86fbedadc4289708
Video:
In this exercise, we will implement a simple version of Hummingbot’s Pure Market Making strategy.
To understand the script’s logic at a high level, check out this Strategy Design Template
Let's code
Add a new file inside the scripts folder: quickstart_script_2.py
Open the file in your IDE editor and add this code to it:
import logging
from decimal import Decimal
from typing import List

from hummingbot.core.data_type.common import OrderType, PriceType, TradeType
from hummingbot.core.data_type.order_candidate import OrderCandidate
from hummingbot.core.event.events import OrderFilledEvent
from hummingbot.strategy.script_strategy_base import ScriptStrategyBase


class QuickstartScript2(ScriptStrategyBase):

 bid_spread = 0.008
  ask_spread = 0.008
  order_refresh_time = 15
  order_amount = 0.01
  create_timestamp = 0
  trading_pair = "ETH-USDT"
  exchange = "binance_paper_trade"
  # Here you can use for example the LastTrade price to use in your strategy
  price_source = PriceType.MidPrice

 markets = {exchange: {trading_pair}}
We define the variables that the script will use:
bid_spreadandask_spreadcalculate the price of our orders by applying a spread to the market priceorder_refresh_timeandcreate_timestampdefine when to cancel open orders and place new onesorder_amountis the amount in units of the base asset (ETH in this example) for our ordersprice_sourcedefine how the market price is retrieved using theget_price_by_typemethod. The options forPriceTypeare:MidPriceBestBidBestAskLastTradeLastOwnTradeCustom(if you are using a custom API to get the price)
trading_pairandexchangewill be used to initialize the markets, as we saw in the previous example.
on_tick
Now, let’s code the logic that will be executed every tick. Add the following code inside the QuickstartScript class
def on_tick(self):
    if self.create_timestamp <= self.current_timestamp:
        self.cancel_all_orders()
        proposal: List[OrderCandidate] = self.create_proposal()
        proposal_adjusted: List[OrderCandidate] = self.adjust_proposal_to_budget(proposal)
        self.place_orders(proposal_adjusted)
        self.create_timestamp = self.order_refresh_time + self.current_timestamp
-
Based on the design template, these are the high-level tasks that the bot will loop through every one second and perform:
-
First, the bot checks if it’s time to refresh the orders. If so, it will proceed and…
- Cancel all the orders
- Create a new order proposal, a list of
OrderCandidatethat define the price, amount, and side of each order. - Adjust the proposal given your token balances, using the Budget Checker component of the connector.
- Adjusting one order:
self.connectors[CONNECTOR_NAME].budget_checker.adjust_candidate(OrderCandidate) - Adjusting a list of orders:
self.connectors[CONNECTOR_NAME].budget_checker.adjust_candidates(List[OrderCandidate])
- Adjusting one order:
- Place the orders
- Update the create timestamp: this will set up the time that the bot has to wait until starting to execute the logic again.
Now let’s write each method that we defined in the on_tick method:
cancel_all_orders
def cancel_all_orders(self):
        for order in self.get_active_orders(connector_name=self.exchange):
            self.cancel(self.exchange, order.trading_pair, order.client_order_id)
- The method
get_active_ordersgives you a list of the active limit orders. - We are going to cancel each order by calling the method
self.cancel(connector_name, trading_pair, client_order_id) - We are using the information of
trading_pairof the LimitOrder and theclient_order_idwhich is an internal order id that Hummingbot generates before sending the order.
create_proposal
def create_proposal(self) -> List[OrderCandidate]:
    ref_price = self.connectors[self.exchange].get_price_by_type(self.trading_pair, self.price_source)
    buy_price = ref_price * Decimal(1 - self.bid_spread)
    sell_price = ref_price * Decimal(1 + self.ask_spread)
    buy_order = OrderCandidate(trading_pair=self.trading_pair, is_maker=True, order_type=OrderType.LIMIT,
                               order_side=TradeType.BUY, amount=Decimal(self.order_amount), price=buy_price)
    sell_order = OrderCandidate(trading_pair=self.trading_pair, is_maker=True, order_type=OrderType.LIMIT,
                                order_side=TradeType.SELL, amount=Decimal(self.order_amount), price=sell_price)
    return [buy_order, sell_order]
- First, we are getting the reference price (in this case MidPrice) which we are going to use to calculate the bid and ask prices, by multiplying it with the bid and ask spread.
- Then we are creating two
OrderCandidate's and return them inside a list.
adjust_proposal_to_budget
def adjust_proposal_to_budget(self, proposal: List[OrderCandidate]) -> List[OrderCandidate]:
    proposal_adjusted = self.connectors[self.exchange].budget_checker.adjust_candidates(proposal, all_or_none=True)
    return proposal_adjusted
- As we mentioned before, we can use the budget checker to check if the balance that we have in the account is enough to send the order.
- The argument
all_or_none=Truechecks if you can balance to send the entire amount, if not, modifies the amount to the order to zero. - If
all_or_none=False, the budget checker will adjust the value to the balance available in your inventory. For example:- Order Amount = 1 ETH
- Balance = 0.5 ETH
- The new order amount will be 0.5 ETH
place_orders
def place_orders(self, proposal: List[OrderCandidate]) -> None:
    for order in proposal:
        self.place_order(connector_name=self.exchange, order=order)
Here, we are looping over the list of order candidates, and then we are executing the method place_order which is the one that we are going to explain next.
place_order
def place_order(self, connector_name: str, order: OrderCandidate):
    if order.order_side == TradeType.SELL:
        self.sell(connector_name=connector_name, trading_pair=order.trading_pair, amount=order.amount,
                      order_type=order.order_type, price=order.price)
    elif order.order_side == TradeType.BUY:
        self.buy(connector_name=connector_name, trading_pair=order.trading_pair, amount=order.amount,
                     order_type=order.order_type, price=order.price)
- Based on the side of the order we are going to call the method
buyorsellof the strategy. - It is important to execute the buy and sell methods of the strategy because the logic of the order tracking is encapsulated there. If you buy or sell directly with the connector, you are going to loose the tracking of the order by the strategy.
did_fill_order
def did_fill_order(self, event: OrderFilledEvent):
    msg = (f"{event.trade_type.name} {round(event.amount, 2)} {event.trading_pair} {self.exchange} at {round(event.price, 2)}")
    self.log_with_clock(logging.INFO, msg)
    self.notify_hb_app_with_timestamp(msg)
- Finally, let’s define a handler for a Hummingbot
event. You can use them to create custom logic to handle event if the event happens! - Hummingbot has the following events implemented:
did_fill_orderdid_complete_buy_orderdid_complete_sell_orderdid_cancel_orderdid_create_buy_orderdid_create_sell_orderdid_fail_order
- In this case, we are just logging the message and sending the notification to the app.
Optional Exercise:
💡 Try to implement handlers for these other events and print log messages when they occur!
Running the script
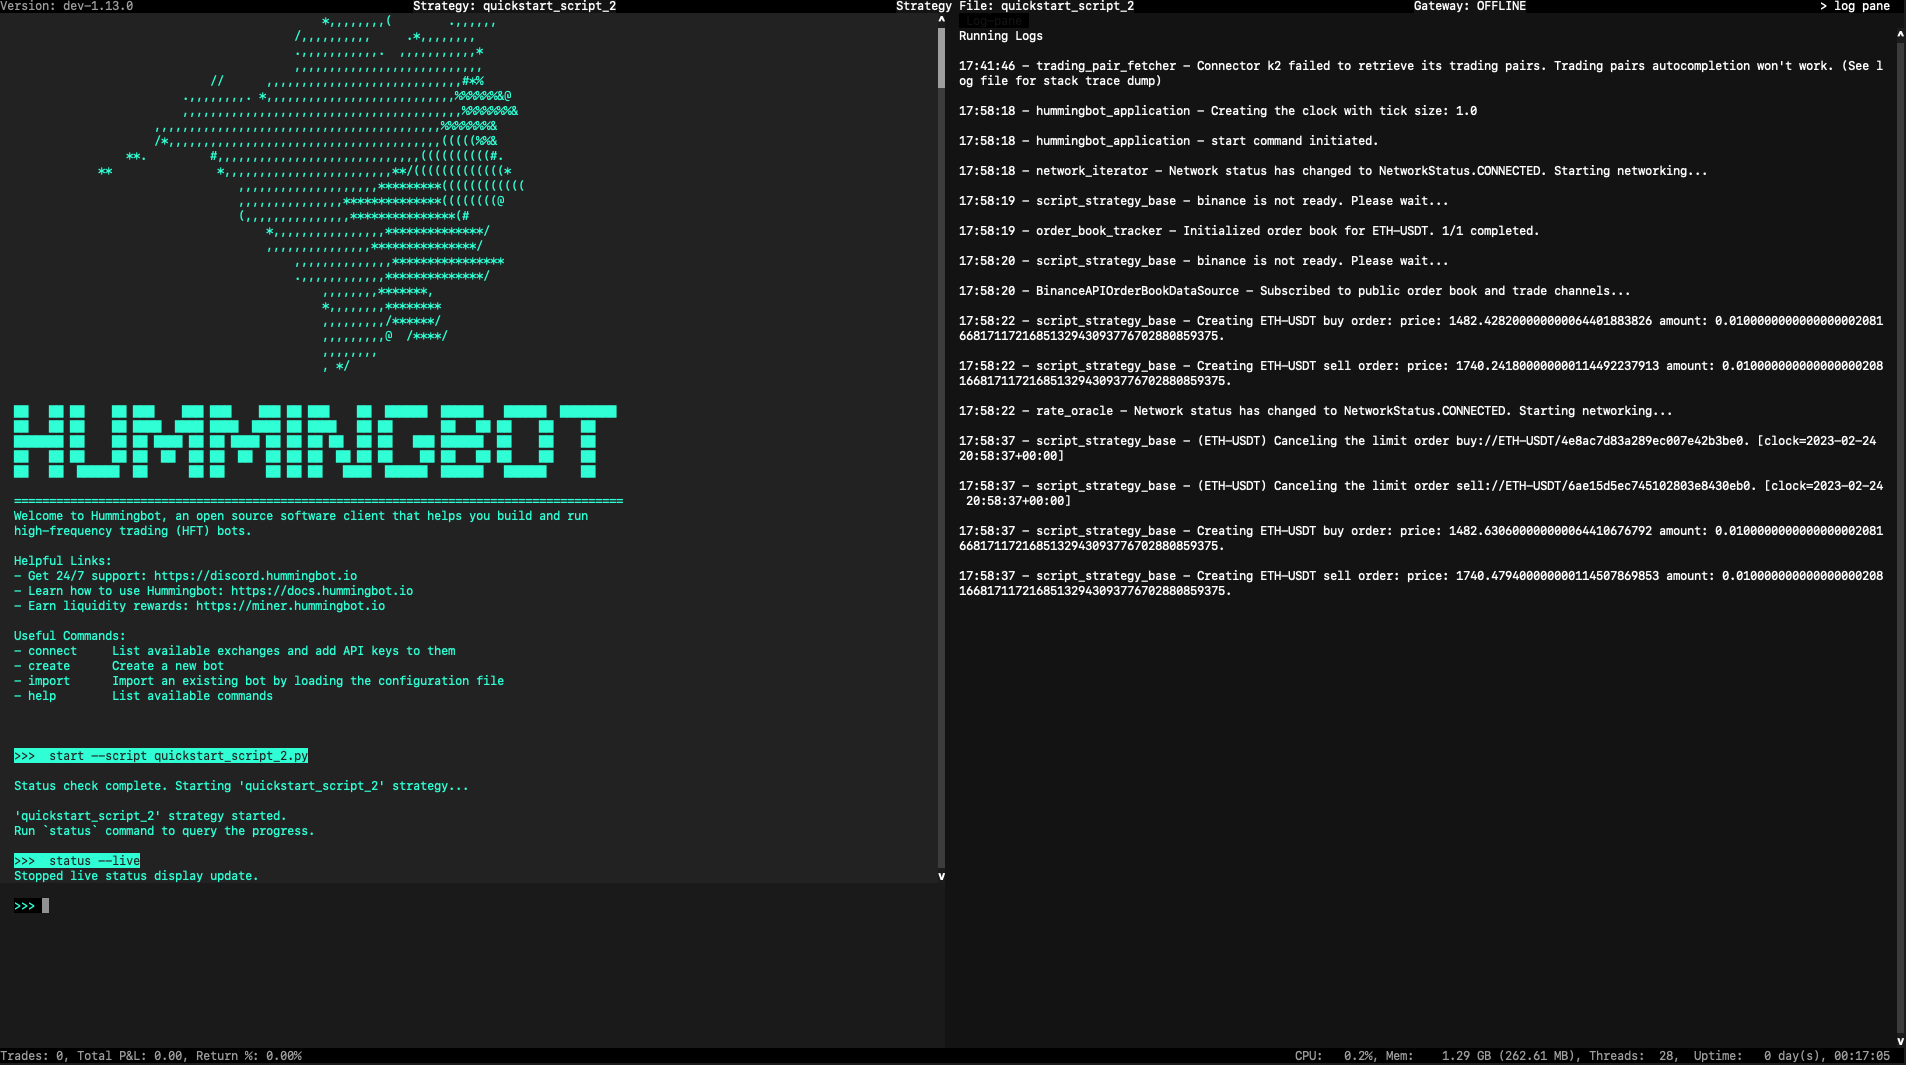
As before, open a terminal and run the client with ./start (Make sure that the conda environment is activated)
Start the script with the command: start --script quickstart_script_2.py.
Run the command: status --live and you should see:
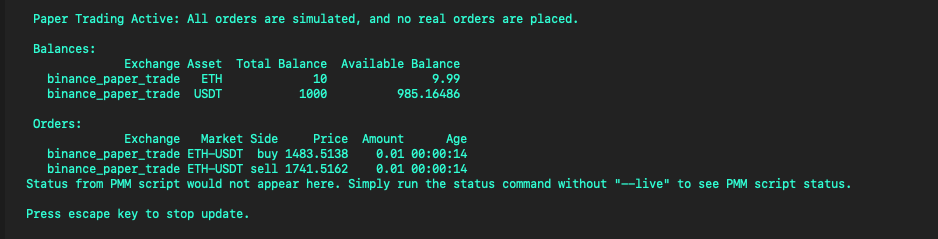
Run the history command to see all the trades that you have performed and the current profit/loss. This performance is measured by comparing the value of your current assets with the value if no trades had happened. See this blog post for details.
Next steps
Scripts also let you customize Hummingbot's status command so that you can see the metrics that matter to you! Let's learn how in the next exercise!